|
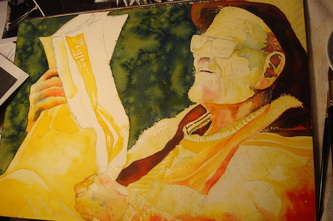
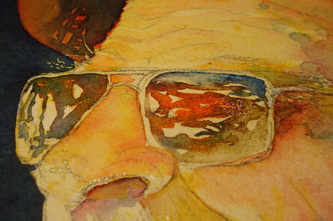
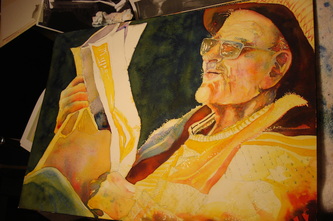
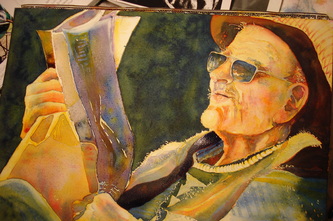
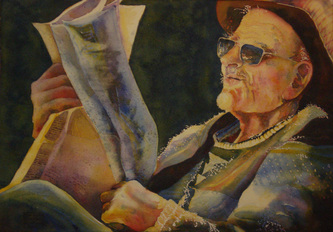
To continue the portrait, I work in continuously smaller areas, each time using a layer of yellow, then red, then blue. Sometimes floating them together and letting them mix, and sometimes tilting my board to help the process along. Right now, I seem to be having luck with (Daniel Smith)New Gamboge, Quinacridone Rose, and Pthalo Blue. I have to thank Laurie Goldstein-Warren for the lessons in using a Limited Pallette at the WVWS workshop this past Summer. I was deterimned to give this a good try, and using my three little dishes, I have managed to stay out of "the MUD"! For skin tones, being careful to leave my highlights on his face, I layer New Gamboge then touch my brush loaded with the Quin Rose to the darker area and let it flow and get lighter over the yellow. Finally,the painting is ready to photograph! It is important to keep photos of your work for: 1) Your own portfolio of what you have done, 2) to see your progress over time, and 3) to upload to your blog and bore your friends!
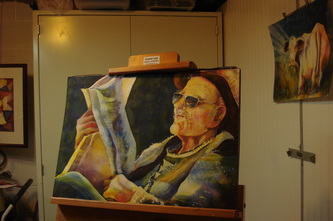
There are several ways to get a good photo of your painting by yourself. I use two basic methods using a 7.2 MegaPixel Sony Cybershot. (Pocket Camera) First, if you notice the last photo in the series above, pay attention to how the bottom of the painting is NOT SQUARE with the edge of the photo. This will cause you all kinds of grief when you try to crop the edges using photo software. To avoid this, Line up the bottom of the painting with a straight edge, such as the tray of the easel, when you shoot the photo. I use a DAYLIGHT worklight and other lighting from several directions to avoid shadows. (Tungston lightbulbs give a yellow tint to the photo) The easiest way to photograph your painting is to take it outside during the daylight. This can be a problem for those of us who paint at 2am! Anyway, place the painting on a flat surface under cover of a porch roof or some other cover. Stand over the painting and shoot several shots without flash. On a strange -but-true note, I recently learned that my cell phone (not a smart phone) will not only take a photo quite well, but can "talk" to my computer and upload the photo without wires! I am easily impressed, obviously. If your phone can not accomplish this task, you can take your camera disc to W__l M--RT and have the images placed on a disc. If you go this route, edit the photo by cropping away anthing in the photo but your painting. This was just a quick overview of how to photograph your work. The WV Watercolor Society holds programs at meetings periodically to show members how to get digital files of their work. Check out www.WVWatercolorSociety.org newsletter back issues for more information.
2 Comments
Tammy
11/21/2012 11:43:21 pm
What an awesome portrait! It is amazing to see the process of your work. Thank you!!
Reply
Leave a Reply. |
AuthorI think it is important to share our process with others, just as we gain from watching other artists work. Archives
June 2024
Categories |
 RSS Feed