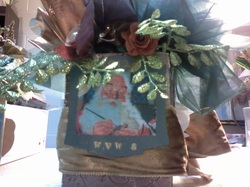
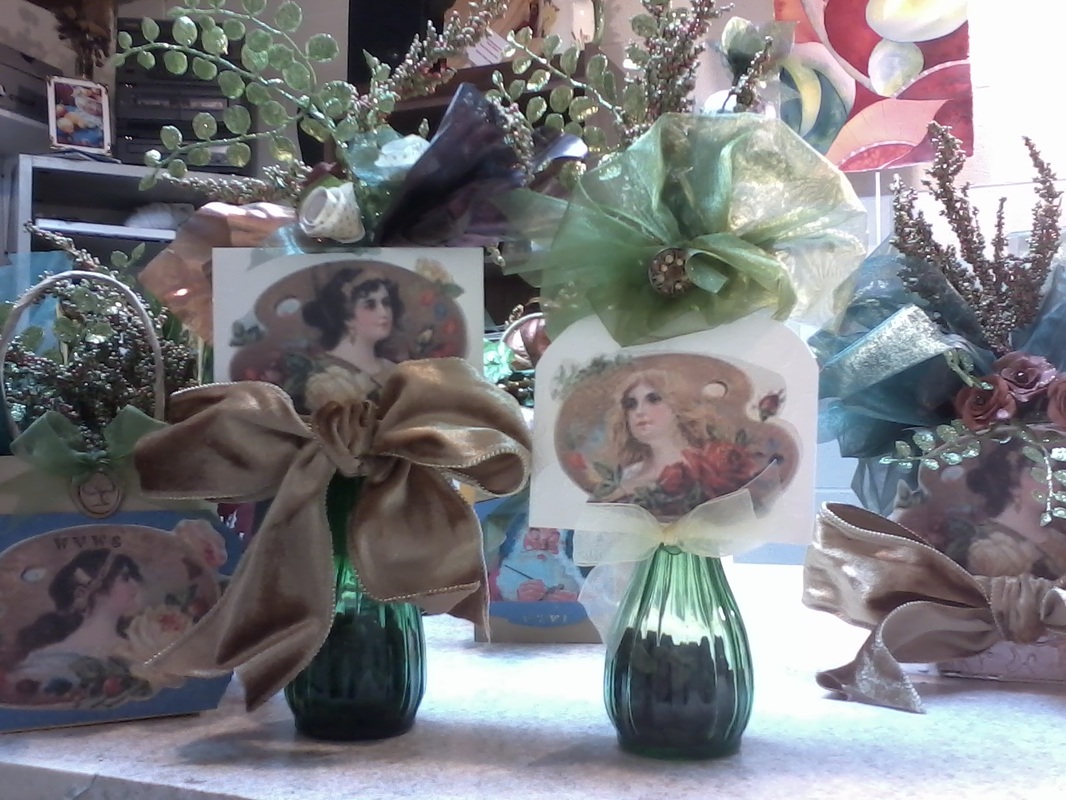
 This week I have also been working on some table favors for the WVWS All Member Show in Elkins. The Show opens with an Artist's Reception on Friday Dec. 7th at the RCCAC Building near the park in town.For anyone who will be in the area, this is a wonderful opportunity to meet the talented Watercolor Society folks! For these centerpieces, I used some repurposed gift bags embellished with greenery, some of my (too extensive) ribbon stock, and some reprinted clip art featuring Victorian Artist's pallettes and Santa with a paintbrush. OF COURSE, There was spray GLITTER involved, (although I don't think it shows in these photos.) My dog will never be the same! Now it is time to sweep up the glitter and get back to work on my Christmas card. I thought I was finished, however, some of the feedback from my test audience ( Hubby and Daughter) said my little angel looked mean instead of "pouty". Sooo, I have a little more work to do before getting my cards out. Happy Painting!
0 Comments
I am so thankful for all the blessings we've been given this year. I wish everyone a happy, healthy, Holiday Season!
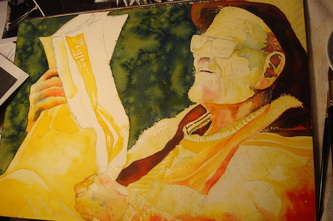
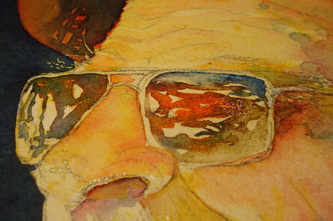
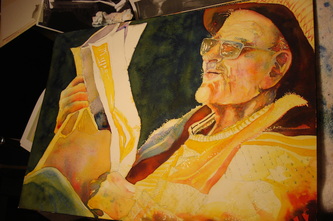
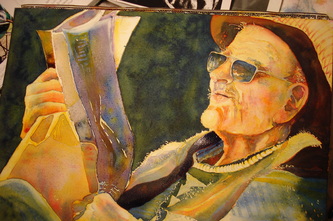
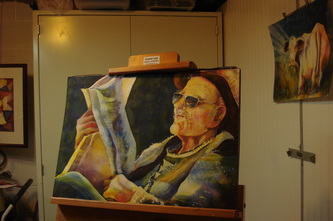
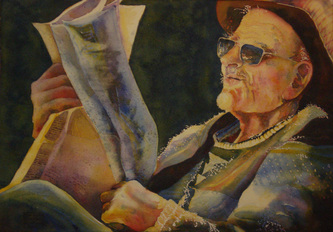
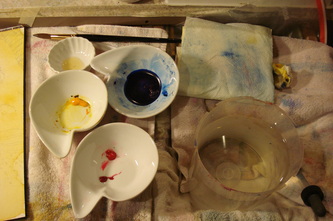
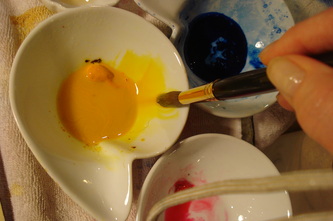
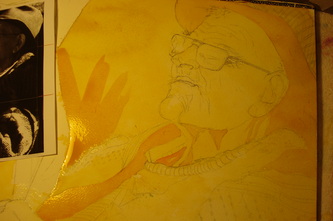
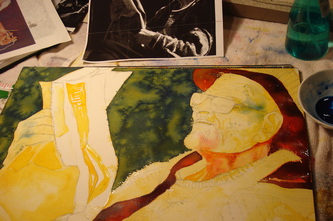
Happy Painting! :) Jeannine To continue the portrait, I work in continuously smaller areas, each time using a layer of yellow, then red, then blue. Sometimes floating them together and letting them mix, and sometimes tilting my board to help the process along. Right now, I seem to be having luck with (Daniel Smith)New Gamboge, Quinacridone Rose, and Pthalo Blue. I have to thank Laurie Goldstein-Warren for the lessons in using a Limited Pallette at the WVWS workshop this past Summer. I was deterimned to give this a good try, and using my three little dishes, I have managed to stay out of "the MUD"! For skin tones, being careful to leave my highlights on his face, I layer New Gamboge then touch my brush loaded with the Quin Rose to the darker area and let it flow and get lighter over the yellow. Finally,the painting is ready to photograph! It is important to keep photos of your work for: 1) Your own portfolio of what you have done, 2) to see your progress over time, and 3) to upload to your blog and bore your friends!
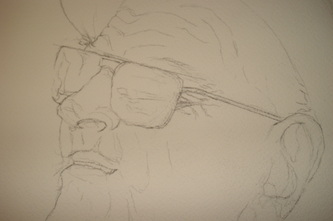
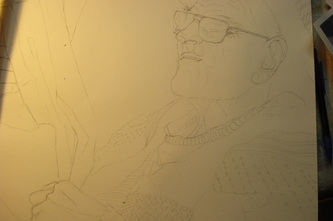
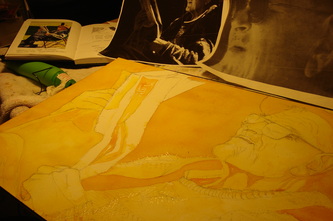
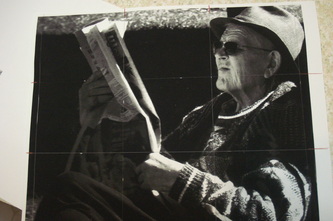
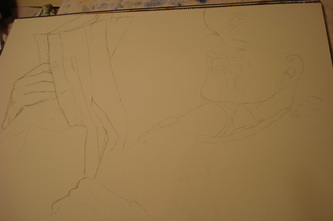
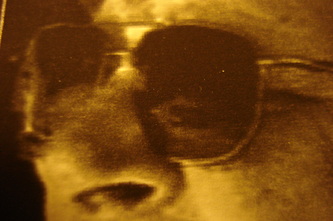
There are several ways to get a good photo of your painting by yourself. I use two basic methods using a 7.2 MegaPixel Sony Cybershot. (Pocket Camera) First, if you notice the last photo in the series above, pay attention to how the bottom of the painting is NOT SQUARE with the edge of the photo. This will cause you all kinds of grief when you try to crop the edges using photo software. To avoid this, Line up the bottom of the painting with a straight edge, such as the tray of the easel, when you shoot the photo. I use a DAYLIGHT worklight and other lighting from several directions to avoid shadows. (Tungston lightbulbs give a yellow tint to the photo) The easiest way to photograph your painting is to take it outside during the daylight. This can be a problem for those of us who paint at 2am! Anyway, place the painting on a flat surface under cover of a porch roof or some other cover. Stand over the painting and shoot several shots without flash. On a strange -but-true note, I recently learned that my cell phone (not a smart phone) will not only take a photo quite well, but can "talk" to my computer and upload the photo without wires! I am easily impressed, obviously. If your phone can not accomplish this task, you can take your camera disc to W__l M--RT and have the images placed on a disc. If you go this route, edit the photo by cropping away anthing in the photo but your painting. This was just a quick overview of how to photograph your work. The WV Watercolor Society holds programs at meetings periodically to show members how to get digital files of their work. Check out www.WVWatercolorSociety.org newsletter back issues for more information. This week I have finished drawing in the details of Mr. Patterson's portrait. I used the "blow up" of his face as a reference to put in as much detail as I could, then studied the intricate designs of his sweater to add interest.
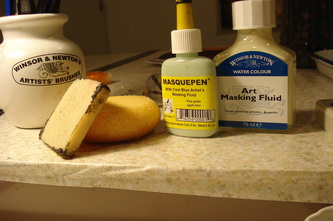
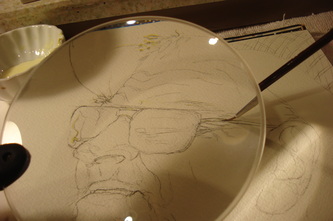
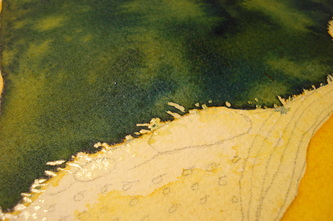
At this point, I like to walk away from the drawing for a day, maybe work on another project, ( or go to work at my real job that pays the bills! )then come back and look at it "fresh". This way, I might notice something that I might want to change before I start painting. Please don't be fooled into thinking I am such an organized and methodic person! I have developed this process the way I learn everything: I make mistakes and figure it out! (just ask anyone who has ever had me as an art student!) Note: In order to add to the "content" of the portrait, it helps to have some background knowledge of the subject. For instance, if you were painting a small boy, adding a baseball glove and hat tells the viewer something about him. This makes the painting interesting even to people who don't know the subject. With Mr. Patterson's portrait, I took the idea that he is from New Zealand and incorporated details into the painting. Wool is a major source of income for many New Zealanders, and although Dave is a retired truck driver, he and his family did have sheep on thier farm. I emphasized the "Fuzzles" on his sweater to represent the soft, warm wool, and exaggerated the folds to make the viewer imagine what it might feel like to wear such a big, comfy, sweater. I used masking fluid to save these fuzzies, so they will appear to catch the warm sun coming over his shoulder. I didn't use large areas of masking, only the fine details that are hard to paint around using a very small brush. Now, I can begin painting! Today I discovered the "fall back" may help my goal of actually painting every day! I'm usually a morning person, so the "extra" hour has been put to good use today.
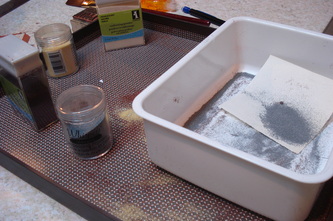
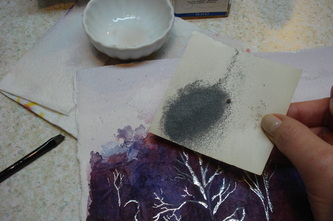
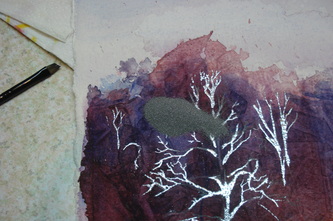
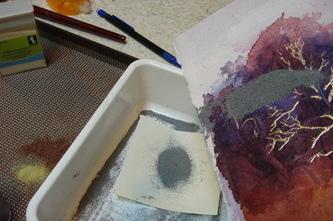
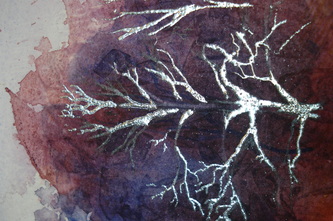
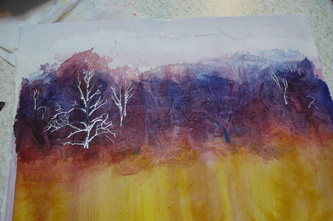
I have been working with Embossing powders off and on for the past few weeks. This week, I tried painting my basic background first, then using the embossing powder to "draw" my Sycamore trees. We had such a beautiful Autumn this year, and I have been fascinated with the "Silver" sycamore trees that seem to stand out against the hill sides. Now that all the leaves have gone, (almost overnight!) these living artworks are distracting me when I'm driving down our narrow road!
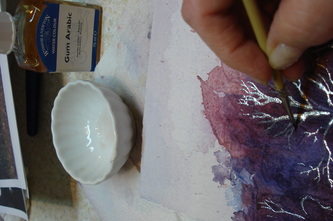
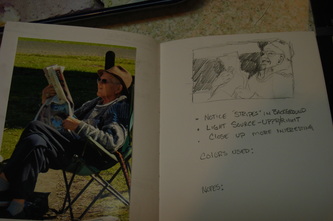
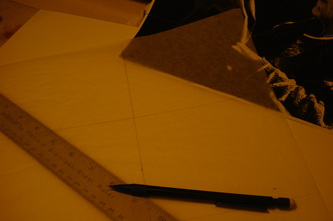
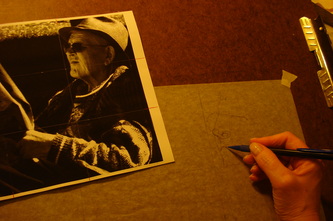
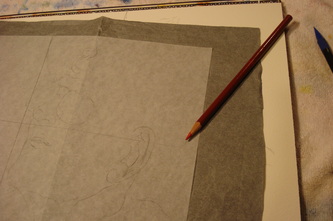
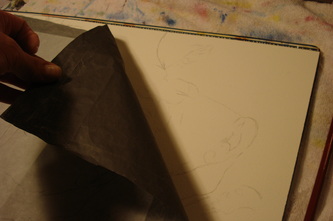
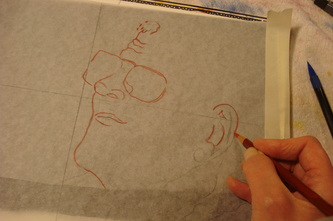
For my background, I used plastic wrap wrinkled over my wash across the center of my painting to create texture. I did several layers, letting each one dry before applying the next. (One thing watercolor has taught me is PATIENCE!) I used the Gum Arabic mixed with a small amount of water and a Golden Fleece size 0 brush to draw the trees. These trees are dark at the bottom, and get white on the way up, so I am careful how I add the highlights, trying not to get too heavy. I do only a few branches at a time, then pour the powder on & dump it off. Then I repeat the process until I have a section of trees done. I can always go back and add branches to fill out bare spaces, so I just start with a basic "clump" of trees. It helps me to have several photos of trees for reference, not to copy exactly, but to get a general idea of the grouping and the ways the branches curve. I tried to get a video of the heating process so you could see how the branches "grow" when heated, but I'm having "technical difficulties" . Seriously, this is as exciting a watching the colors form when working wet into wet watercolor! I urge you to try this. I am including some photos of the most recent trial. I think it turned out much better than the first! I've sort of made a photo story as I'm moving along with this commission. I'm trying to remember to take a picture before moving on the the next phase, and it really makes me THINK about what I am doing! This gentleman is Dave Patterson, who lives near Aukland, New Zealand. His daughter has commissioned this painting. Click on each photo for details about how I did each step in the process. As much as I am excited to get painting, I want to be sure my drawing is as detailed as I can get it before applying the paint. (There is nothing more frustrating than trying to fix a drawing once you've started painting ---There are workshops for that! :)
To be CONTINUED..... |
AuthorI think it is important to share our process with others, just as we gain from watching other artists work. Archives
June 2024
Categories |
 RSS Feed